Creating EasyLinks
Create an EasyLink in less than a minute.
Check out our Tourial demo below to try creating an EasyLink yourself!
EasyLinks can be managed right from the Send+Manage tab of your Proof Business account. Learn more about the different types of EasyLinks and choose the right one for your use case before proceeding with this guide. To edit, share, or deactivate an existing EasyLink, see our guide on managing EasyLinks.
Creating a Signer-Upload EasyLink
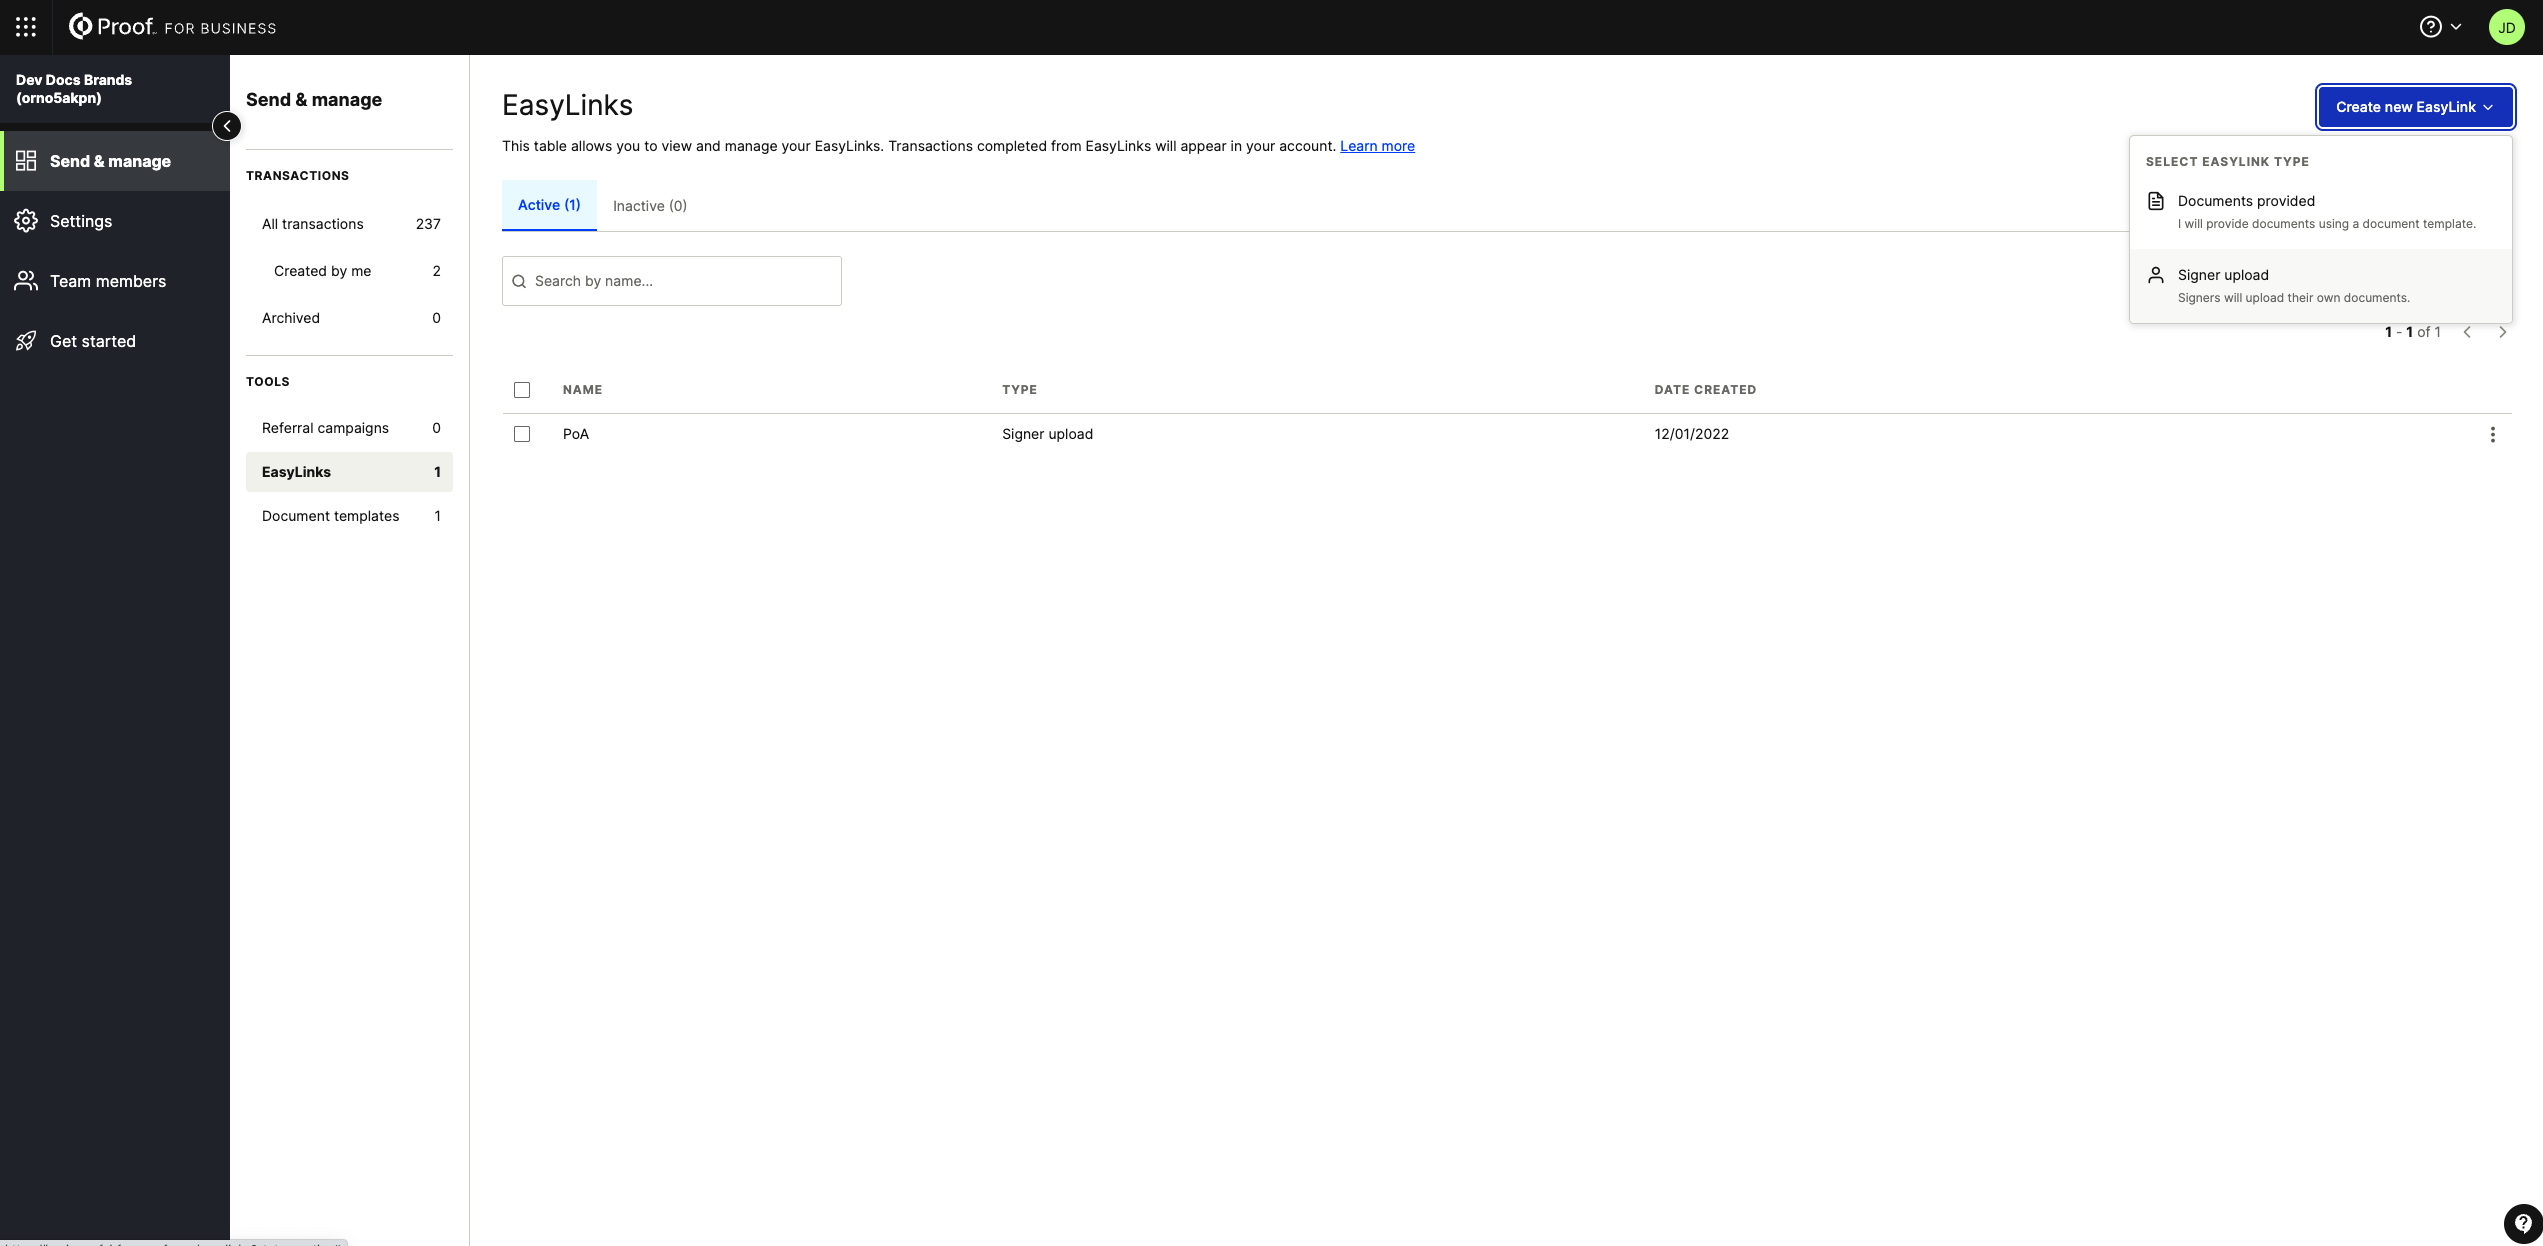
From the Send+Manage tab in your Proof Business account, click EasyLinks on the left sidebar. Click Create New EasyLink, then select the Signer upload option.

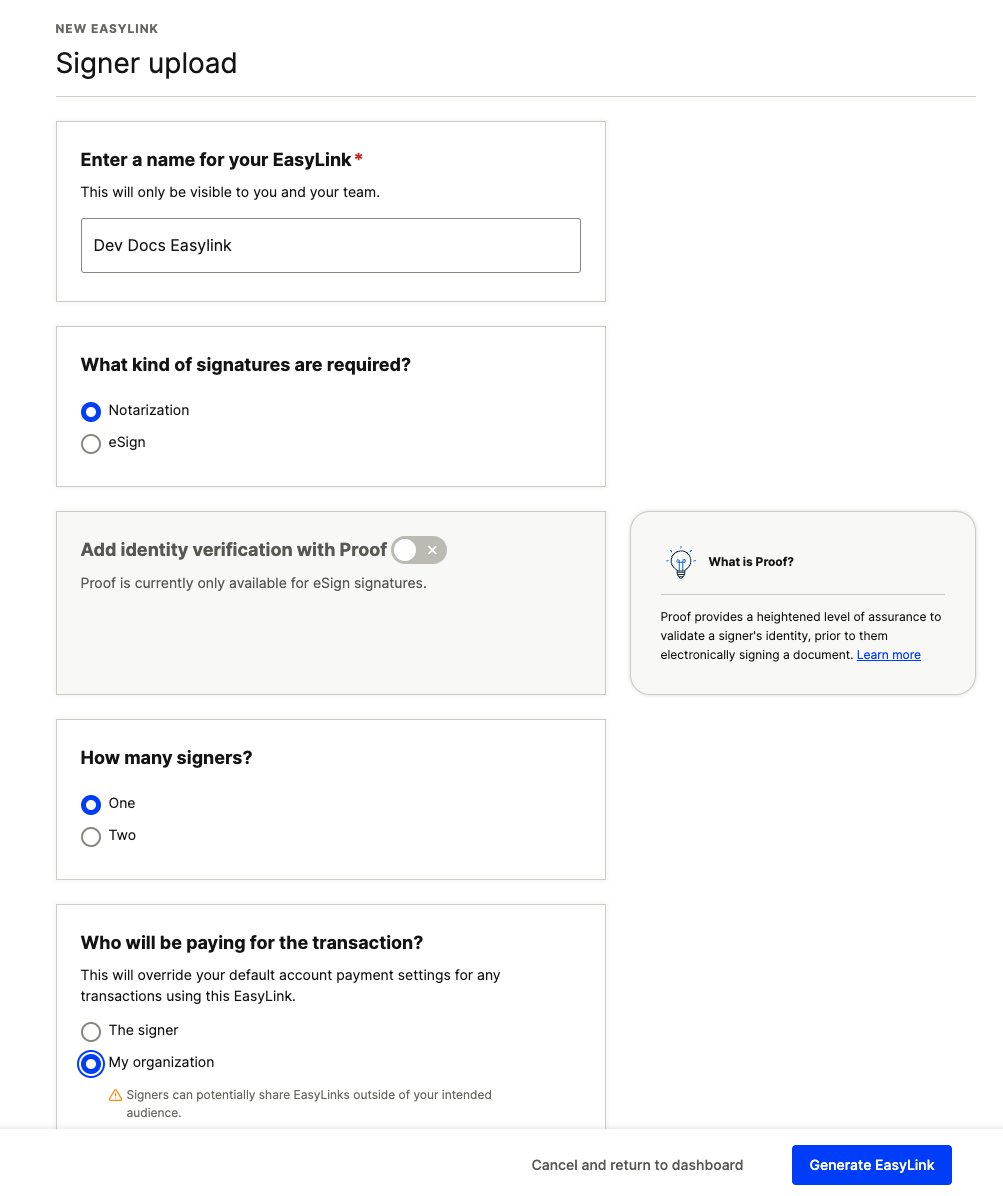
On the next screen, customize your Signer-Upload EasyLink. You can set a name for your EasyLink, the signing requirements, the payment method, as well as the number of signers. If the number of signers varies per transaction, you can choose to set a minimum and maximum number of signers using our new multi-signer EasyLink feature.
Multi-signer EasyLinksMulti-signer EasyLinks need to be enabled on your account by a Proof employee. Contact your customer success manager or [email protected] if you need to use this feature.

Then, click Generate EasyLink, and you're all set! Learn more about Sharing EasyLinks to determine the best way to present the link to your signers.
Payment MethodIf you select "My organization" as the payer, you will be billed based on the billing settings configured for your account. Reach out to [email protected] or your dedicated Customer Success Manager, if you have questions regarding your billing setup.
Creating a Documents-Provided EasyLink
Creating a Documents-Provided EasyLink requires you to have a document template to associate with the EasyLink. Create a document template before proceeding with the steps below.
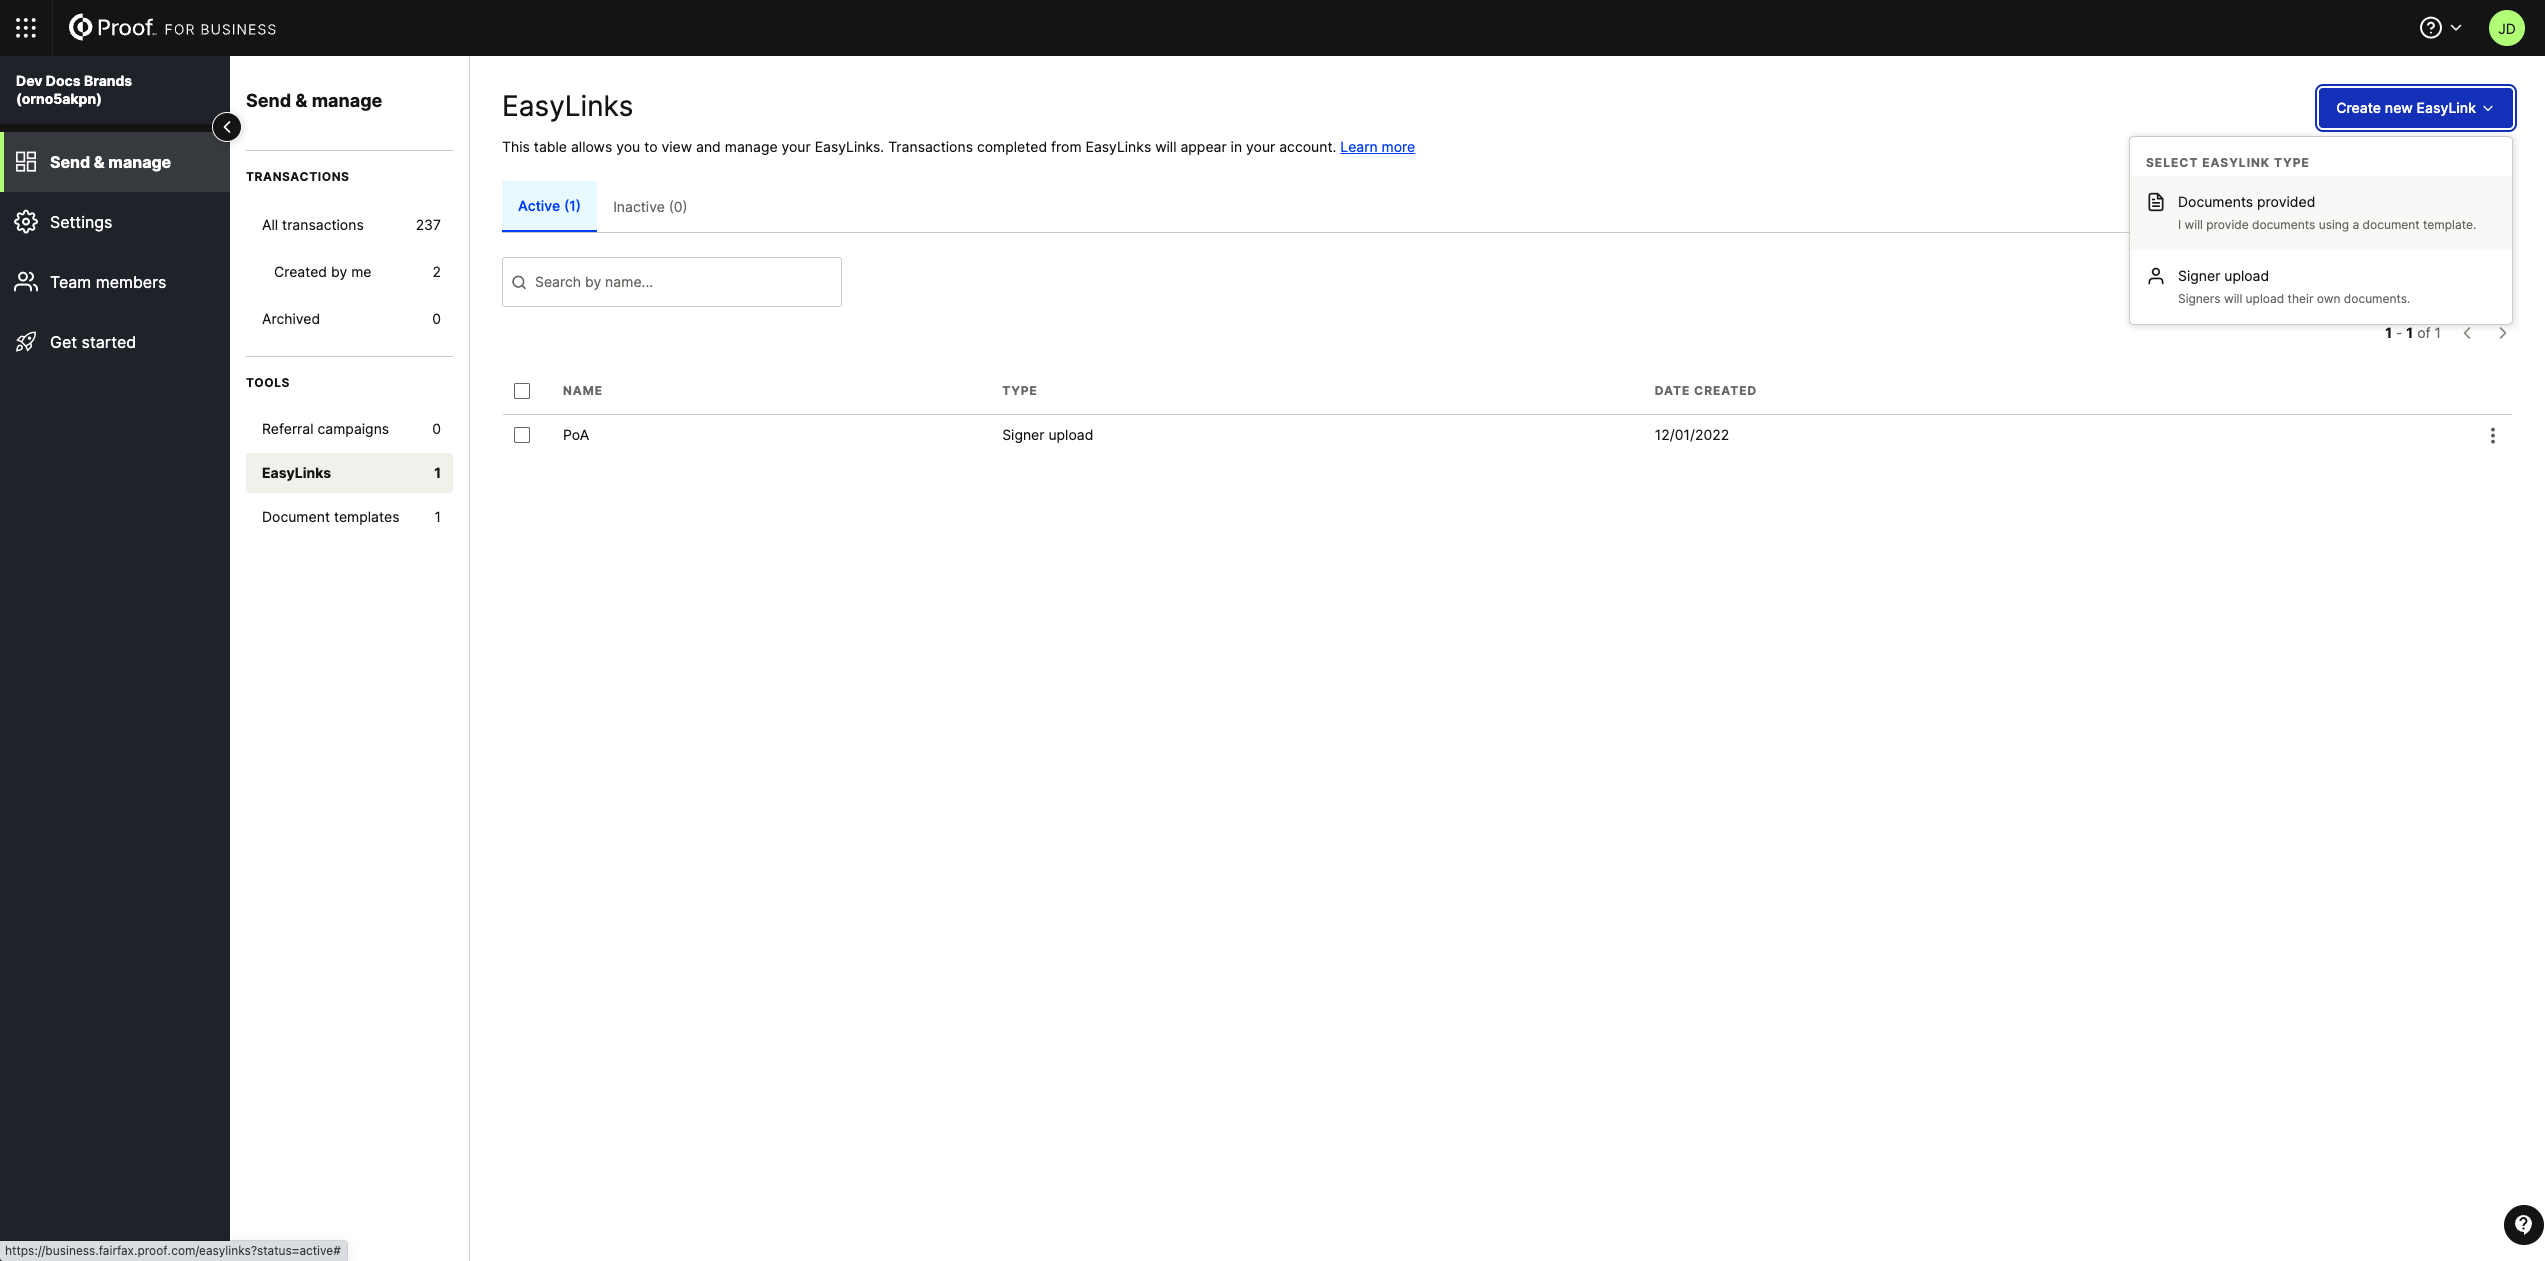
From the Send+Manage tab in your Proof Business account, click EasyLinks on the left sidebar. Click Create New EasyLink, then select the Documents provided option.

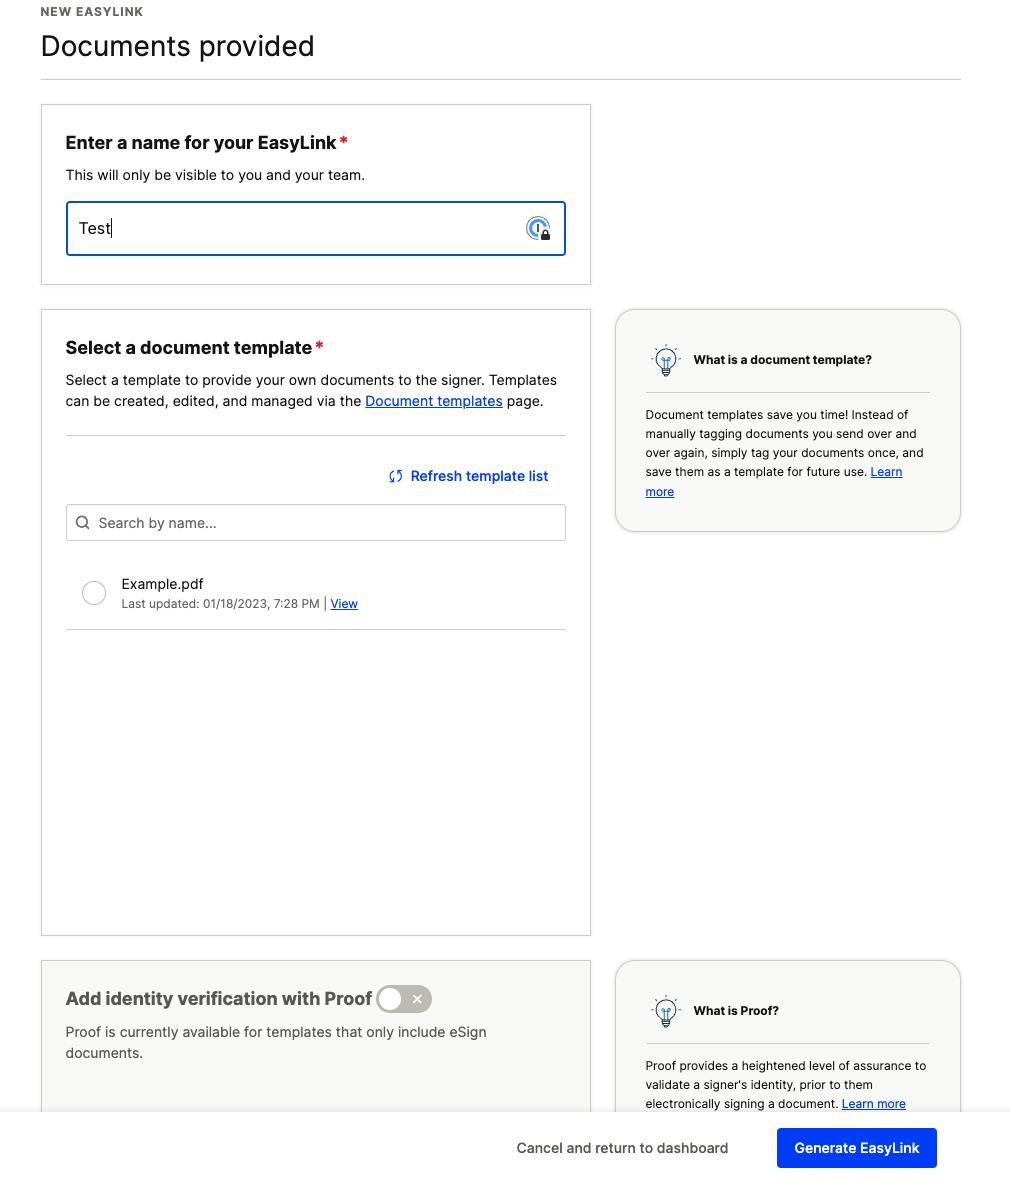
On the next screen, customize your Documents-Provided EasyLink. Start by selecting the right document template from the list. You can preview the template to confirm it's the right document.

Continue customization by setting a name for your EasyLink and the payment method. Signing requirements and number of signers are set in the document template it self. You can edit the associated document template to change the signing requirements or number of signers for this EasyLink.
Then, click Generate EasyLink, and you're all set! Learn more about Sharing EasyLinks to determine the best way to present the link to your signers.
Payment MethodIf you select "My organization" as the payer, you will be billed based on the billing settings configured for your account. Reach out to [email protected] or your dedicated Customer Success Manager, if you have questions regarding your billing setup.
Updated 5 months ago