
Single Sign-On (SSO)
SSO for your Proof account lets you and all your teammates log into Proof using the credentials stored in your organization's SAML Identity Provider (IdP). Examples of IdPs include ActiveDirectory, Auth0, Google, and Okta. With SSO, account and credential management are not handled by Proof, but instead by your IdP.
Why SSO?
- Users in your organization can log into Proof without needing to enter their password every time.
- SSO is compatible with parent/child org structures, allowing you to propagate certain teams/groups to a respective child org upon SSO login.
- Streamline new user onboarding with just-in-time user provisioning (JIT provisioning). Users will be created and updated automatically when they log in through SSO, allowing you to scale your operation with Proof faster.
Notes
- Once SSO is configured, users' former Proof account passwords will no longer work, unless they are organization admins.
- Users' former Proof account usernames will no longer work if those usernames do not match existing usernames in your organization’s IDP.
- Individuals with your email domain will not be able to create new separate accounts on the Proof platform.
Requirements
- This documentation assumes that you already have a SAML Identity Provider (IdP). If you do not have a SAML IdP, you can use any IdP that supports SAML 2.0 such as ActiveDirectory, Auth0, Google, and Okta.
- This documentation assumes that you are on a Premium or Enterprise pricing tier or that you have purchased Command Center. See our pricing page for more details.
- You will need a Proof user account with access to Command Center. Organization owners will have access by default and can grant access to other users - see https://support.proof.com/hc/en-us/articles/24158951216279-Add-a-New-Command-Center-User.
- You must have the ability to create a new DNS entry for your domain.
Setup
Claiming a domain
- Log in to Proof.
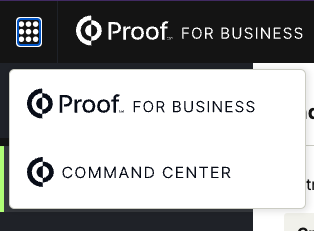
- Click the waffle menu in the top left-hand corner to open it > Click Command Center.
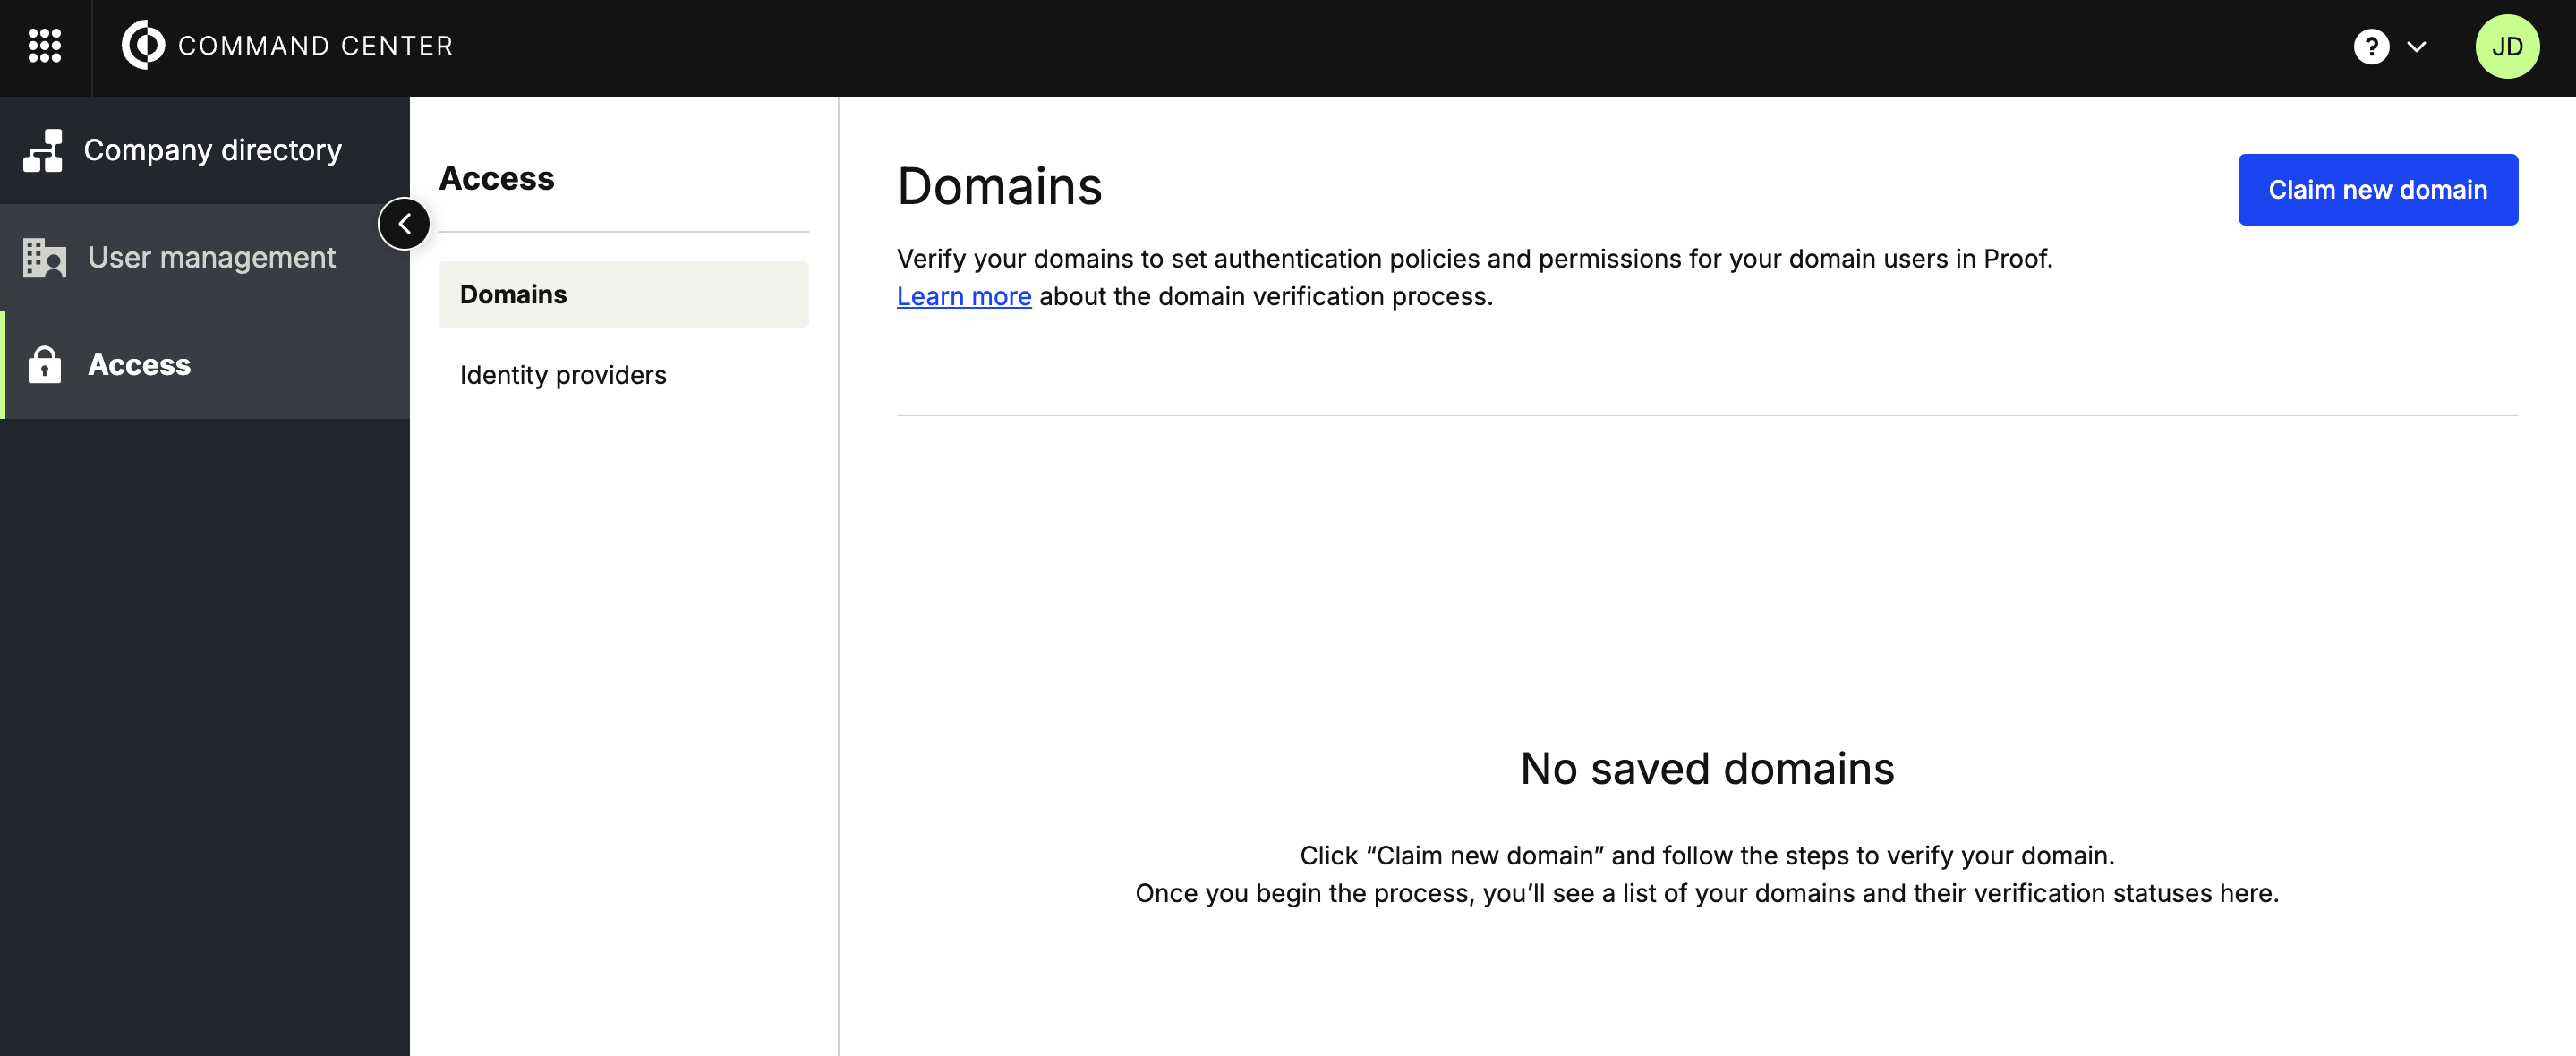
- Click Access from the left-hand navigation panel.
- Click Domains in the next panel over, under Security.
- Click Claim new domain (upper-right corner).
- Enter your domain name exactly. You may include or omit hostnames (e.g. www.acme.com or acme.com).
What domain should I claim?You should start with your end users' primary email domain. Proof does not automatically claim all subdomains - if you need to also verify a subdomain (e.g. acme.com and contractor.acme.com) you can repeat these steps as needed.
- Copy the TXT record displayed on screen.
- Create a new DNS record in your DNS provider's configuration. Exact configuration needs may vary, but Proof supports two different ways of entering your TXT record. For example, if the record provided by Proof was
_proof-domain-verification=c3d12d1d-5f95-4a24-a099-7fb9f640bd6a, you can create either of the two records below:- Record type:
TXT, host:_proof-domain-verification, value:c3d12d1d-5f95-4a24-a099-7fb9f640bd6a - Record type:
TXT, host:@, value:_proof-domain-verification=c3d12d1d-5f95-4a24-a099-7fb9f640bd6a
- Record type:
- Return to Command Center and you should see your domain verified. Note that this may take up to 72 hours to refresh depending on your DNS record TTL value.

Set up your Identity Provider in Proof
Once your domain is claimed you can add your Identity Provider metadata in Proof.
- Log in to Proof.
- Click the waffle menu in the top left-hand corner to open it > Click Command Center.
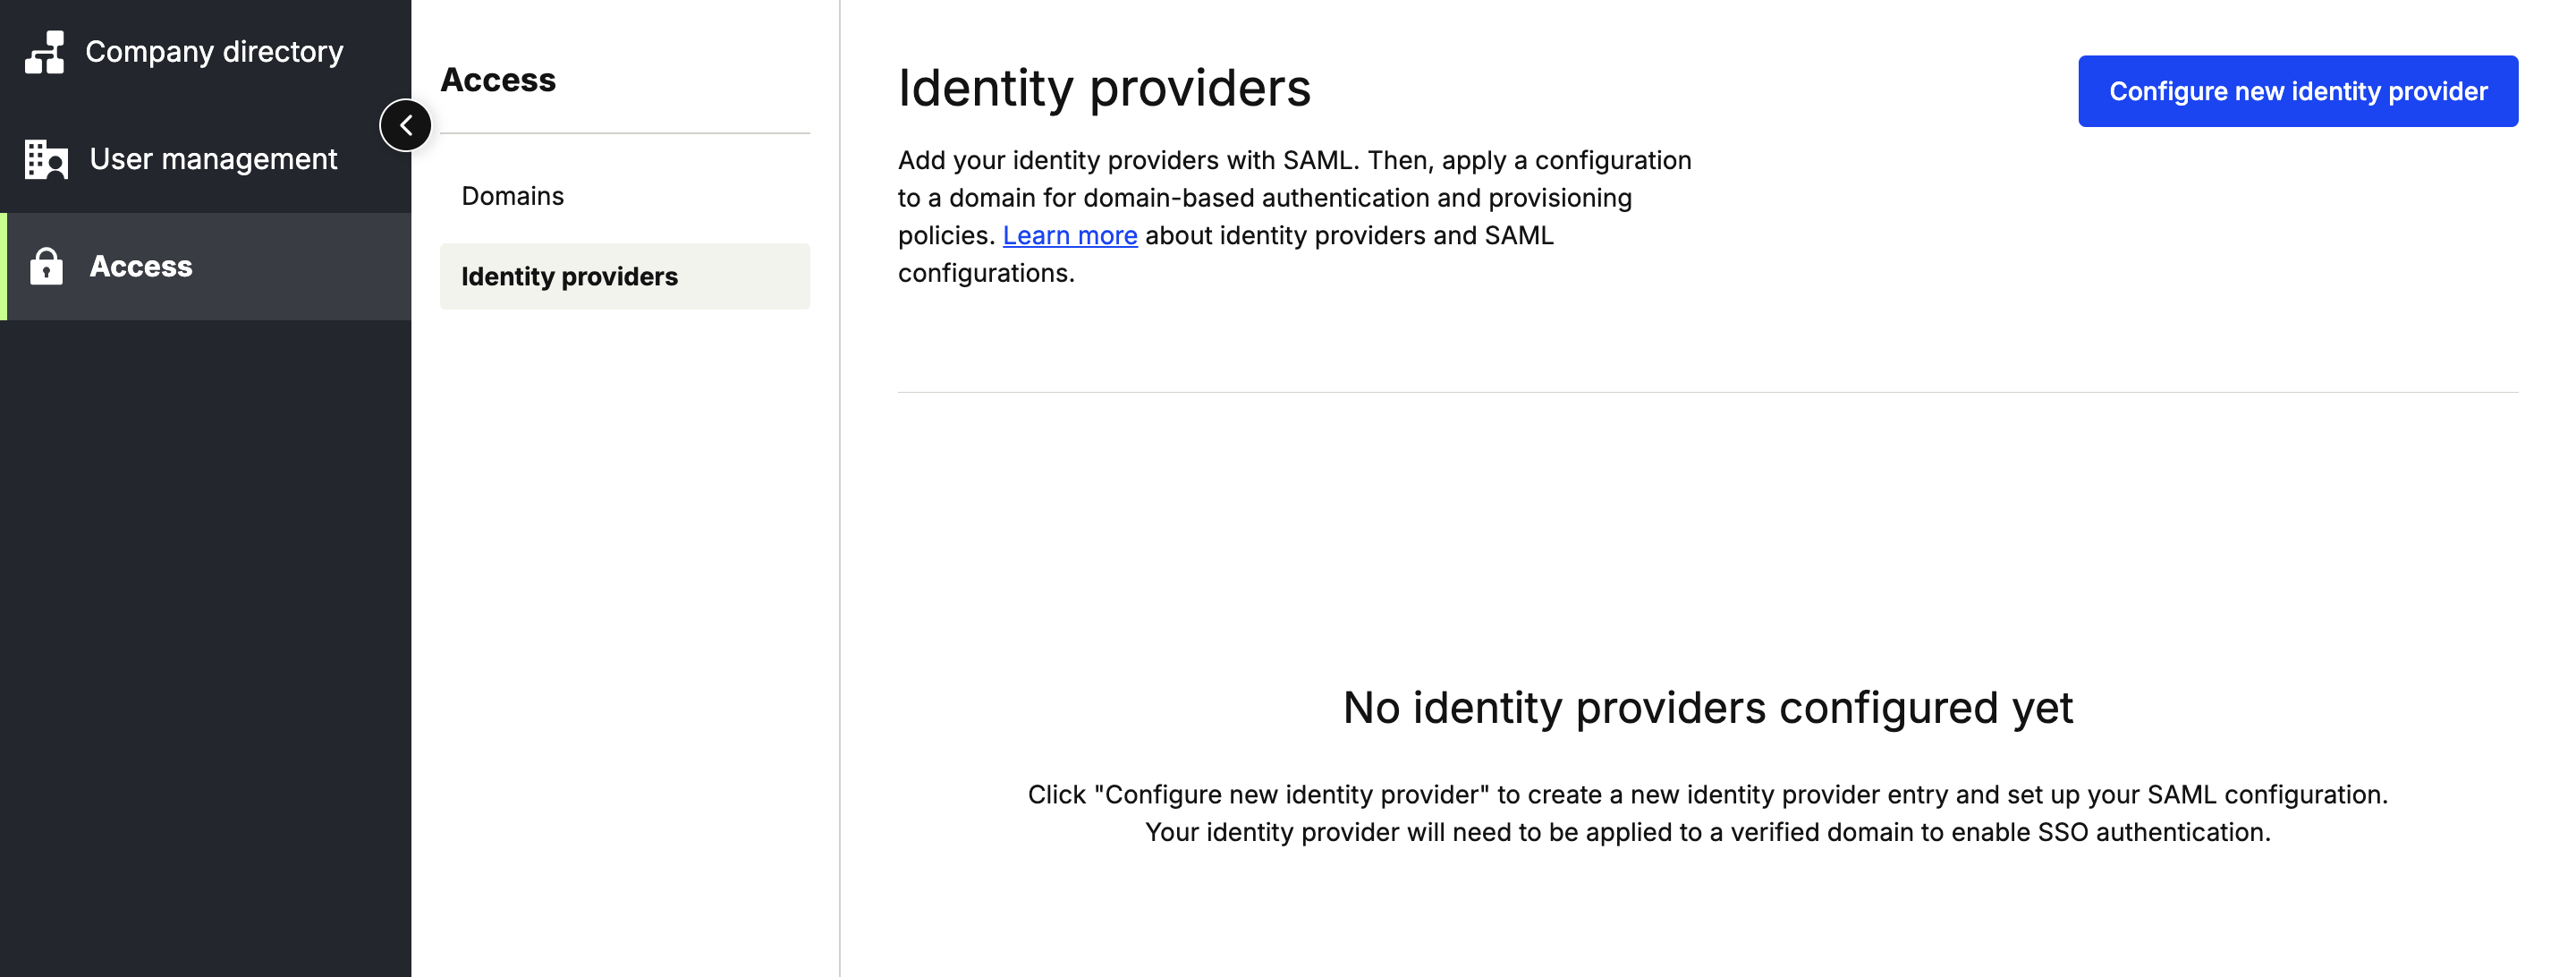
- Click Access from the left-hand navigation panel.
- Click Identity Providers in the next panel over, under Security.
- Click "Configure new identity provider"
- Add a name (typically some variation of your IDP name, such as 'Okta Production')
- Upload a metadata XML file - you can usually obtain this from your IDP by beginning the process of setting up a new application. Some IDPs provide this in the form of a URL - you can simply open the URL and save the page as a .xml file.
- Proof will support manual entry of metadata in the future.
Production IdP Configuration
The IdP needs to be configured with the following Proof SAML data:
- Entity (or Issuer) ID: https://api.proof.com/saml/consume
- Assertion Consumer Service (ACS) URL: https://api.proof.com/saml/consume
- SP metadata URL: https://api.proof.com/saml/metadata
- Also available as a file
Fairfax (Test) IdP Configuration
The IdP test environment needs to be configured with the following Proof SAML data:
- Entity (or Issuer) ID: https://api.fairfax.proof.com/saml/consume
- Assertion Consumer Service (ACS) URL: https://api.fairfax.proof.com/saml/consume
- SP metadata URL: https://api.fairfax.proof.com/saml/metadata
- Also available as a file
SAML Attributes
These attributes are sent from the IdP to Proof, in order to provision accounts on-the-fly, assign specific roles (e.g. admin vs. team member), and create users in child organizations.
Keep in mind the following required attributes:
nameidfirst_namelast_nameemailroles(strongly recommended)
Read more about the available SAML attributes below. If you cannot send the required attributes using the listed attribute name, you can map the attribute name in Proof - see https://support.proof.com/hc/en-us/articles/26274498905879-Set-Up-Domain-Based-Single-Sign-On-SSO.
| Attribute Name | Attribute key case | Attribute value case | Attribute Description |
|---|---|---|---|
nameid (required) | case sensitive | case sensitive | A unique, immutable identifier for the user. Can be an ID number, email address, username, etc. |
first_name (required) | case insensitive, with/without _ | case sensitive | User's first name |
middle_name (optional) | case insensitive, with/without _ | case sensitive | User's middle name. Strongly reccomended if your organization users will be signing documents in a notarization transaction. |
last_name (required) | case insensitive, with/without _ | case sensitive | User's last name |
name (optional) | case sensitive | case sensitive | User’s full name, e.g. “John Patrick Smith Jr.” |
email (required) | case insensitive | case insensitive | User's email address |
roles (strongly recommended) | case sensitive | case insensitive | An array of strings designating the user's roles. Choose any subset of the following:
|
organization_id (optional) | case sensitive | case sensitive | A Proof organization ID. If specified, the user will be added to this org, otherwise they'll be added to the org where SSO was configured. Use this attribute if you'd like to sign a user into a specific child org. |
notary_state (optional, but required if roles includes notary. | case sensitive | case insensitive | The notary’s state of operation, as an abbreviation.AZ or az |
notary_languages (optional, but required if roles includes notary. | case sensitive | case insensitive | An array of strings representing languages spoken by the user (notary). Supported values are en and es.e.g. [en], [en, es] |
Enable your identity provider in Proof
- Log in to Proof.
- Click the waffle menu in the top left-hand corner to open it > Click Command Center.
- Click Access from the left-hand navigation panel.
- Click Domains in the next panel over, under Security.
- Select the domain you verified earlier.
- Select "Edit"
- Select "Domain-based single sign on" and select the configured identity provider in the dropdown menu.
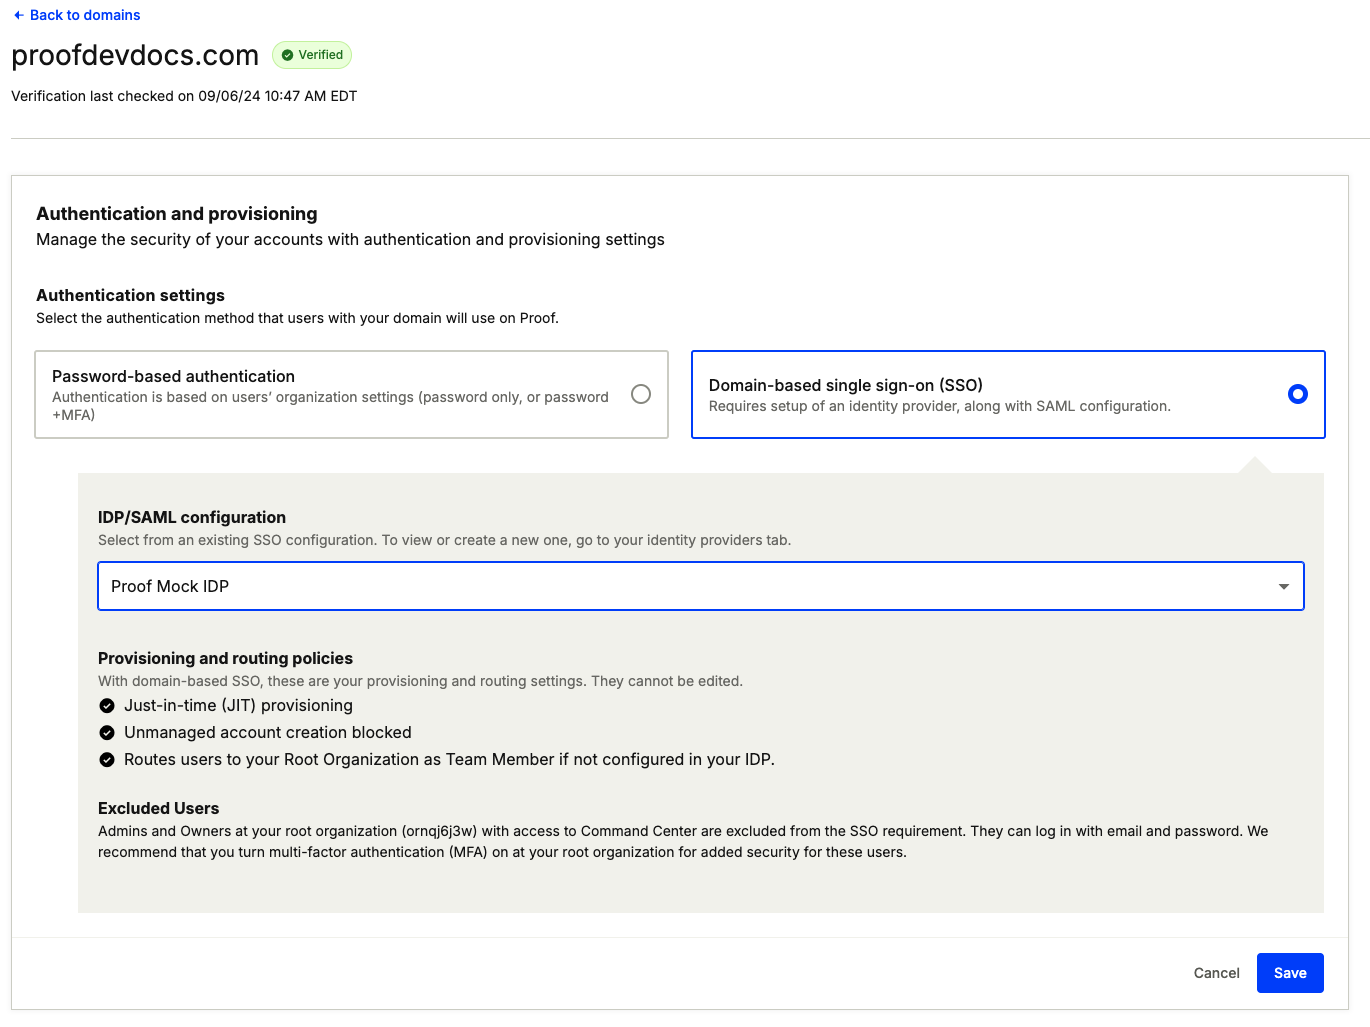
- Select "Save"
SSO is now active and tied to your verified domain.
Updated 3 days ago